Meta: Layered smart lighting and automation to make convertible furniture read as built-in—zoning, sensors, concealment & scenes for multifunctional small homes.
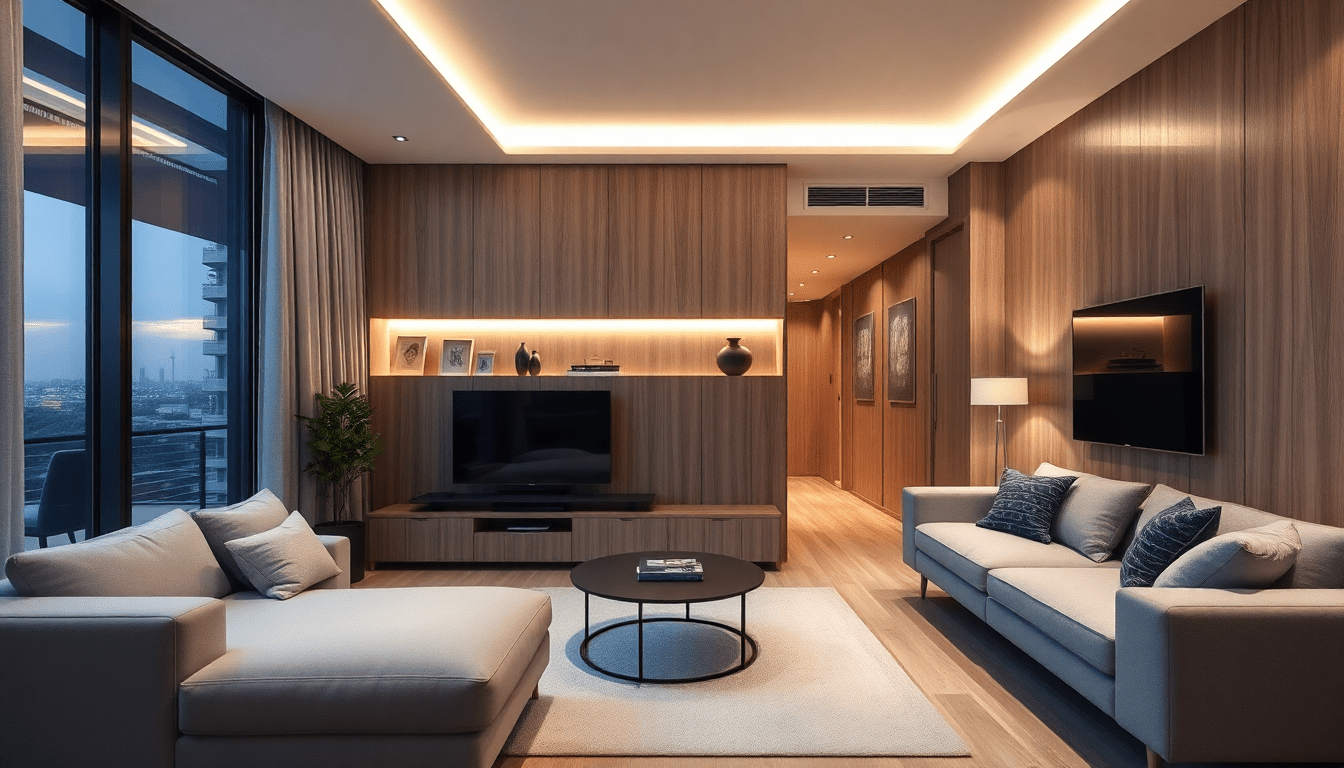
Smart layered lighting unifies convertible furniture with architecture, making small homes feel intentional, calm, and highly functional.
Introduction: Why lighting matters more in small, multifunctional homes
Small homes rely on furniture that shifts roles—sofas that become beds, walls that fold into desks, tables that collapse for storage. Without cohesive lighting, these pieces look temporary and create visual clutter. Layered smart lighting glues the room together: it clarifies zones, hides seams, signals function, and automates transitions so movable furniture reads like a built-in system. This article takes a deep dive into planning, technology, styling, and installation practices a design-savvy homeowner or professional can use in 2025.
Core goals for lighting convertible furniture
- Create continuity: visual lines and light temperatures that read as one system.
- Enhance functionality: provide the right lux levels for each furniture mode.
- Minimize visible hardware: conceal wiring and use modular connectors.
- Automate transitions: use sensors and scenes to switch lighting with furniture movement.
- Maintain flexibility: design for future reconfiguration and upgrades.
Layering explained: ambient, task, accent, decorative & control
A reliable plan uses five complementary layers:
- Ambient lighting: the base illumination for general activity—recessed downlights, flush fixtures, or wall washers.
- Task lighting: focused, high-CRI light for reading, cooking, working—desk-mounted fixtures, adjustable sconces, under-cabinet strips.
- Accent lighting: creates depth and separates zones—LED tape in reveals, spotlights for artwork, toe-kick lighting.
- Decorative lighting: fixtures that contribute to style and anchor zones—pendants, sculptural wall lights.
- Control layer: the brains—sensors, controllers, hubs, voice assistants, and scene logic that coordinate the other layers.
Technology stack to prioritize in 2025
- Protocols: Matter-first approach for cross-brand compatibility; Thread for low-latency mesh; Zigbee and Bluetooth Mesh still relevant in retrofit contexts.
- Tunable white LEDs: 2700–5000K range with CRI > 90 for accurate color rendering and flexible mood control.
- LED tape & extrusions: 12–24V diffused tape inside aluminum profiles for invisible continuous lines.
- Micro fixtures: low-profile downlights, recessed puck lights, pluggable under-shelf lights for tight spaces.
- Sensors: occupancy, daylight, contact (for moving panels), and temperature for thermal protection of power drivers.
- Smart connectors: magnetic or keyed power/data connectors for removable furniture modules.
- Centralized & edge control: local automation running scenes on-device for reliability, cloud for advanced integrations.
Practical planning process: from concept to commissioning
Follow a layered workflow to reduce surprises.
- 1. Survey & measure: Document each furniture configuration, ceiling height, wall positions, and electrical points. Photograph and sketch floorplans with furniture footprints in every mode.
- 2. Define use cases: List activities and their lighting needs per mode (e.g., reading at night, laptop work, dining). Assign lux targets: 300–500 lx for focused tasks, 150–300 lx for general work, 100–150 lx for ambient living, and 10–50 lx for night path lighting.
- 3. Visual continuity plan: Decide where continuous light lines or reveals will run—around cabinet tops, along floating shelves, or within ceiling coves.
- 4. Power & control layout: Choose mains drop locations, low-voltage driver placements, and the hub/patch location. Plan conduit or flexible cable paths if future reconfiguration is likely.
- 5. Device selection: Pick fixtures and controllers that support your control ecosystem (Matter/Thread recommended). Prefer drivers with smooth dimming curves and thermal protection.
- 6. Mockup & test: Use temporary tape lights and smart bulbs to simulate scenes. This catches glare, color mismatch, and scene timing issues early.
- 7. Install & commission: Work with an electrician for mains work. Commission scenes, calibrate motion sensitivity, and document the system for the homeowner.
Design strategies that make furniture read built-in
- Run continuous light lines across transitions: If a wall bed or fold-down desk interrupts a horizontal line (like a shelf or cove), extend the LED profile across the piece so the visual eye follows the light rather than the seam.
- Create recessed shadow gaps: A 10–20 mm reveal with concealed strip lighting makes freestanding furniture look inset into the wall plane.
- Under-seat/under-cabinet glow: Low-level toe-kick lighting visually anchors pieces and offers night navigation without overhead glare.
- Integrated fixtures within furniture: Build micro downlights or strip channels into the underside of fold-down components so they light seamlessly when deployed.
- Use consistent color temperature & CRI: Ensure tunable-white fixtures share a profile and have CRI ≥ 90 to avoid visible shifts when scenes change.
- Concealed connectors & service panels: Design access points for power and controller modules that remain hidden during normal use but are easy to reach for maintenance.
- Visual framing: Use accent lighting to outline cabinetry and frame the furniture as a purposeful architectural element.
Case studies: three real-world scenarios
Case 1 — 350 sq ft studio: Sofa-bed + fold-out desk
- Goal: Make the sofa-bed wall look like a built-in media/reading wall with a hidden desk.
- Plan: Continuous LED profile above headboard/media shelf, recessed toe-kick light under the sofa, adjustable wall sconce for reading, and a contact sensor on the fold-out desk linked to the Work scene.
- Automation: Desk contact opens Work scene: desk strip to 100% at 4000K, ambient downlights to 40%, and media backlighting off.
- Result: When desk folds up, lighting reverts to Relax scene; continuous LED top profile masks the seam visually.
Case 2 — 500 sq ft micro apartment: Murphy bed + convertible dining table
- Goal: Create a single architectural wall with integrated ambient and task lighting so the bed/dining transitions feel cohesive.
- Plan: Cove lighting across the ceiling that continues over the Murphy bed, downlight zones with tiled drivers, pendant on a dimmer above the dining table with a hidden power track for a movable pendant.
- Automation: Bed contact triggers Bed scene (warm bedside reading lights, dimmed cove), table extended triggers Dining scene (pendant to 70%, cove to 30%).
- Result: Motion triggers night path lighting; the pendant and cove are color-matched for continuity so the wall reads as a single built-in feature.
Case 3 — 250 sq ft tiny house: Loft bed + multi-use lower level
- Goal: Define loft sleep zone with warm, low-level lighting and bright task lighting below without separate switches for every fixture.
- Plan: Stair riser lighting, loft perimeter strip with a dimmable driver, under-loft task strips over the workbench, and a central controller with occupancy and daylight sensors.
- Automation: Occupancy sensor on the staircase engages path lighting, loft contact sets sleep scene; daylight sensor reduces artificial light during the day.
- Result: Seamless transitions and safety-focused low-level lighting that make the loft feel purposely designed rather than jammed into the structure.
Control architectures: hub vs distributed intelligence
- Hub-centric: A central controller (or hub) manages scenes and logic. Pros: familiar interfaces, centralized backups. Cons: potential single point of failure and dependence on the cloud if configured that way.
- Edge/distributed: Devices run local automations (Thread + Matter supports on-device scenes). Pros: reliable, faster reactions, works offline. Cons: may require more initial configuration but is increasingly recommended for built-in experiences.
- Hybrid: Use local automations for critical transitions (contact-triggered scenes) and cloud services for remote access, advanced scheduling, or integrations with third-party services.
Wiring, connectors & installation details
Small homes and convertibles need tidy wiring strategies.
- Low-voltage buses: Use 12–24V DC distribution for LED tape and micro fixtures. Centralize drivers in an accessible panel and run thin, flexible cables to fixture points.
- Magnetic quick-disconnects: These make modular furniture removable without permanent wiring damage. Use keyed connectors to avoid incorrect connections.
- Concealed conduit: If running mains through walls or floors, use conduit so wiring can be updated without demolition.
- Service access: Plan removable toe-kick panels or top access behind cabinetry to reach drivers and controllers for maintenance.
- Ventilation & heat: Install drivers and power supplies in ventilated cabinets—LED drivers produce heat and will underperform in sealed, hot spaces.
- Code & safety: Always involve a licensed electrician for mains work and when altering building structure or required fire separations.
Budget guide & cost breakdown (ballpark estimates, 2025)
- Entry-level retrofit: $300–$1,200 — smart bulbs, plug-in LED tape, a couple of sensors, and a smart plug or bridge.
- Mid-range integrated: $1,500–$5,000 — diffused LED extrusions, recessed micro downlights, low-voltage drivers, a dedicated hub, and some professional labor.
- Pro/custom built-in: $5,000–$15,000+ — centralized low-voltage bus, custom extrusions, Matter-native controllers, professional carpentry to recess and conceal channels, and full electrical installation.
Commissioning checklist
- Test each scene with the furniture in every configuration.
- Calibrate motion and daylight sensor sensitivity and delays.
- Confirm color temperature consistency across all fixtures at representative intensities.
- Document wiring, controller IPs (if applicable), and reset procedures in a homeowner manual.
- Label power and low-voltage runs in the distribution hub for future upgrades.
Maintenance, troubleshooting & common pitfalls
- Flicker or inconsistent dimming: Use drivers compatible with the LED tape and dimming protocol; avoid mixing brands with unknown dim curves.
- Warm-up or color drift: Choose high-quality LEDs and drivers. Replace drivers before long-term drift becomes visible.
- Sensors trigger incorrectly: Adjust sensitivity and placement, avoid direct sunlight or reflective surfaces pointing into motion sensors.
- Connectivity issues: Use Thread mesh to strengthen device connections; place border routers strategically and avoid placing hubs inside metal enclosures.
- Hidden overheating: Ensure ventilation and thermal protection on drivers; monitor temperatures during commissioning.
Seasonal & lifestyle adjustments
- Winter: Increase warm-white content in the evening to support circadian comfort; use higher ambient levels during darker days.
- Summer: Use daylight harvest to lower artificial brightness during long daylight hours; use cooler whites for late-afternoon productivity.
- Entertaining: Create a pre-built Entertain scene: accent lights high, decorative pendants warm and bright, task lights off.
- Work-from-home: Calibrate a Work scene to 350–500 lx at desk height with cooler whites for alertness during the day.
SEO & content tips for designers and bloggers covering this topic
- Use keyword-rich headings such as "layered lighting for small homes", "smart lighting for convertible furniture", and "built-in look with LED tape".
- Include short meta descriptions under 160 characters (see top of this article).
- Use how-to phrases and case studies to capture long-tail searches (e.g., "how to light a Murphy bed", "LED tape profiles for sofa beds").
- Create downloadable assets: wiring diagrams, a commissioning checklist, and a sample scene table to increase time on page and backlinks.
- Use structured data where possible (FAQ, HowTo) on the publishing site to improve search visibility.
Frequently asked questions (FAQ)
-
Q: Can I retrofit my existing furniture with built-in lighting?
A: Yes—use low-voltage tape, magnetic connectors, and accessible driver placement to retrofit without structural changes. -
Q: Is Matter necessary?
A: Matter simplifies cross-brand compatibility and is strongly recommended for future-proofing, but many existing Zigbee/Bluetooth systems still work well if planned carefully. -
Q: How do I avoid visible hotspots in LED tape?
A: Use diffused aluminum extrusions with opal covers and select high-density tape to minimize point-source visibility. -
Q: What color temperature should I choose?
A: Use tunable white; set 2700–3000K for relaxation, 3500–4000K for work. Keep a consistent baseline across fixtures.
Final checklist before you start building
- Mapped all furniture modes and lux requirements.
- Selected compatible devices and chosen a control strategy (edge vs cloud).
- Planned for concealed wiring, connectors, and service access.
- Mocked up scenes and tested with temporary fixtures.
- Budgeted for installation and professional electrical work.
Conclusion: turning convertibles into architecture with light
Lighting is the most powerful tool to make multifunctional furniture feel like architecture rather than a compromise. When you design continuous lighting lines, match color and CRI, use sensors and scenes for automatic transitions, and prioritize accessible wiring and drivers, the result is a small home that feels thoughtfully designed, calm, and more spacious. Start small with mockups, iterate on scenes, and scale into integrated extrusions and automation when you have a proven configuration.
Visit XENTAR for more lighting, decor & furniture curated for modern homes and creative spaces.


Share:
Illuminated Furniture Footprints: Floor-Level Smart Lighting to Anchor Multifunctional Furniture in Small Homes
Ghost-Layer Lighting: Concealed Smart-Light Strategies to Integrate Convertible Furniture in Compact Living Spaces